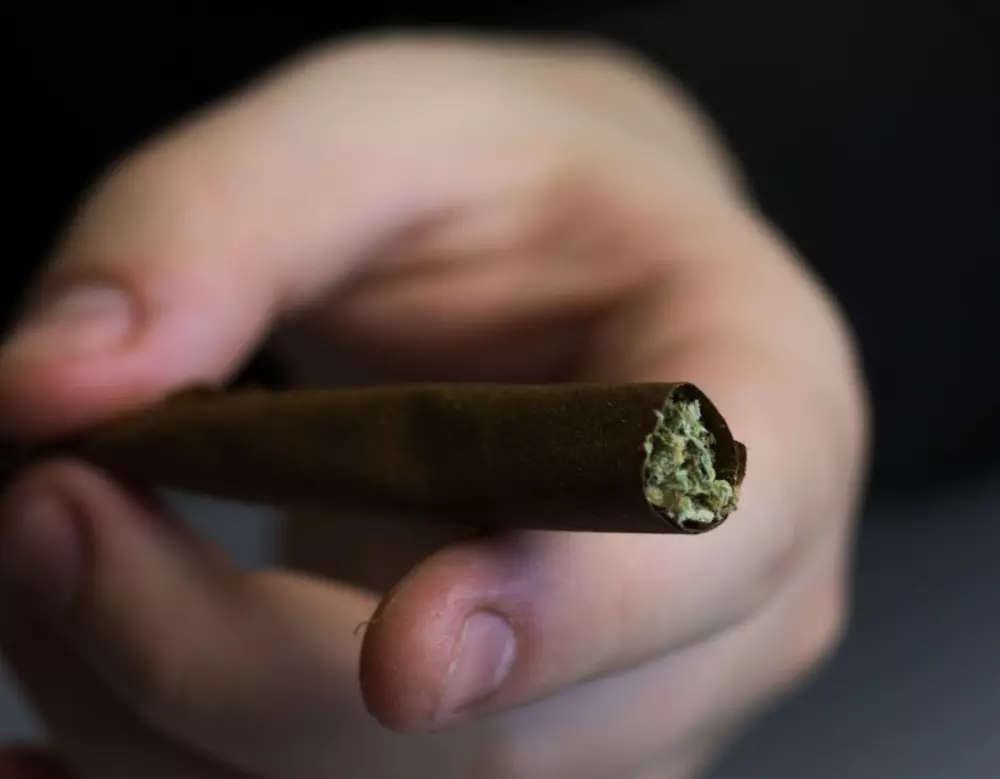
In my humble opinion, blunts are the peak weed-smoking experience. They taste great and burn slowly. You can share them with friends, but a good blunt also makes for excellent company if you’re smoking solo.Most blunts aren’t pure tobacco leaves — rather, they're rolled with a paper made from tobacco pulp that makes for smoother smoking. I don’t smoke cigarettes, so the very tiny amount of tobacco that envelops the weed adds a nice little buzz for me. Maybe they’re not the healthiest way to smoke bud, but blunts are definitely the flyest.Here’s our step-by-step guide to rolling the perfect blunt.
Before You Get Started
To roll a nice blunt you’ll need to get your materials ready first. You won’t need much:
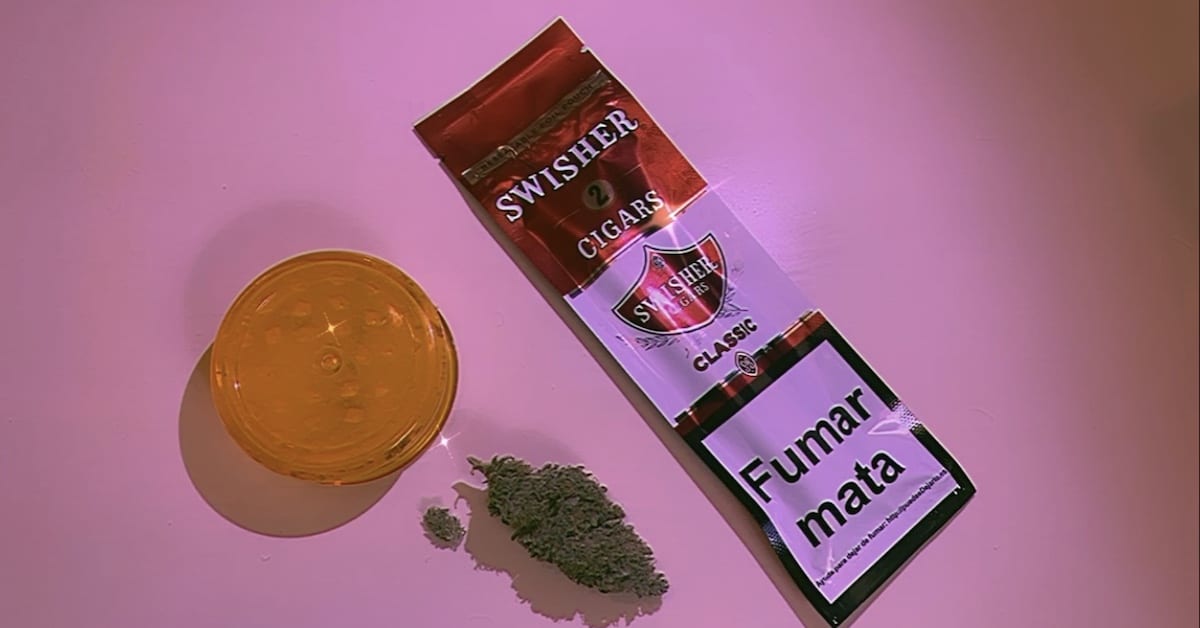
- At least 1 gram of weed
- A grinder
- Blunt wrap of choice
- Optional: a sharp knife
A Word on Blunt Wraps
Every blunt smoker has their favorite wrap, and will argue to the death that their preferred one is the best. My personal favorites — and the ones I’m using today — are Swisher Sweets. I'm not big on flavored blunt wraps, but the Swishers have a mild characteristic sweetness that goes hand-in-hand perfectly with Miss Mary Jane. Other popular options are Philly blunts, which were used in the infamous 1995 movie KIDS. If you must, use flavored wraps, but keep in mind they’ll end up masking the taste of your sweet, delicious bud. I recommend trying a few varieties to see which you like best. Just avoid anything with pure tobacco leaf like a cigar — they’re difficult to roll and will give the blunt a strong, acidic taste.
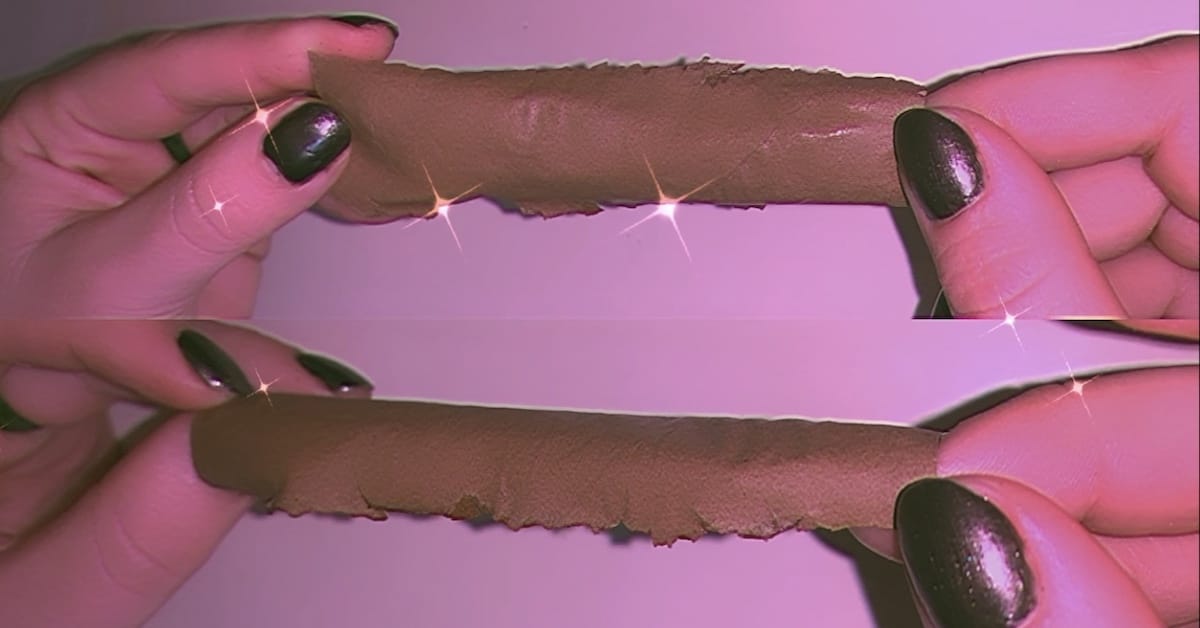
Step One: Split It
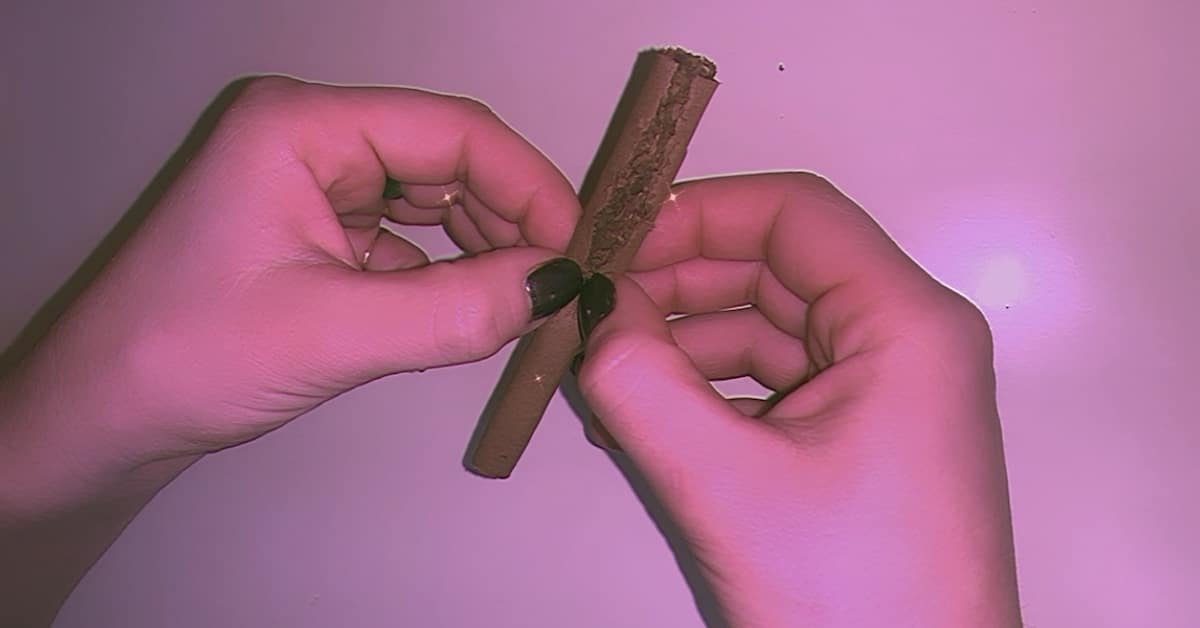 Another reason I love Swishers is because they have a very faint line that serves as a guide for where the cigarillo should be split open. Firmly but gently open it up along this seam by pushing down with your nails. If your nails are very short or you’re rolling your first blunt, you can use an X-acto knife or something similar, but be careful.
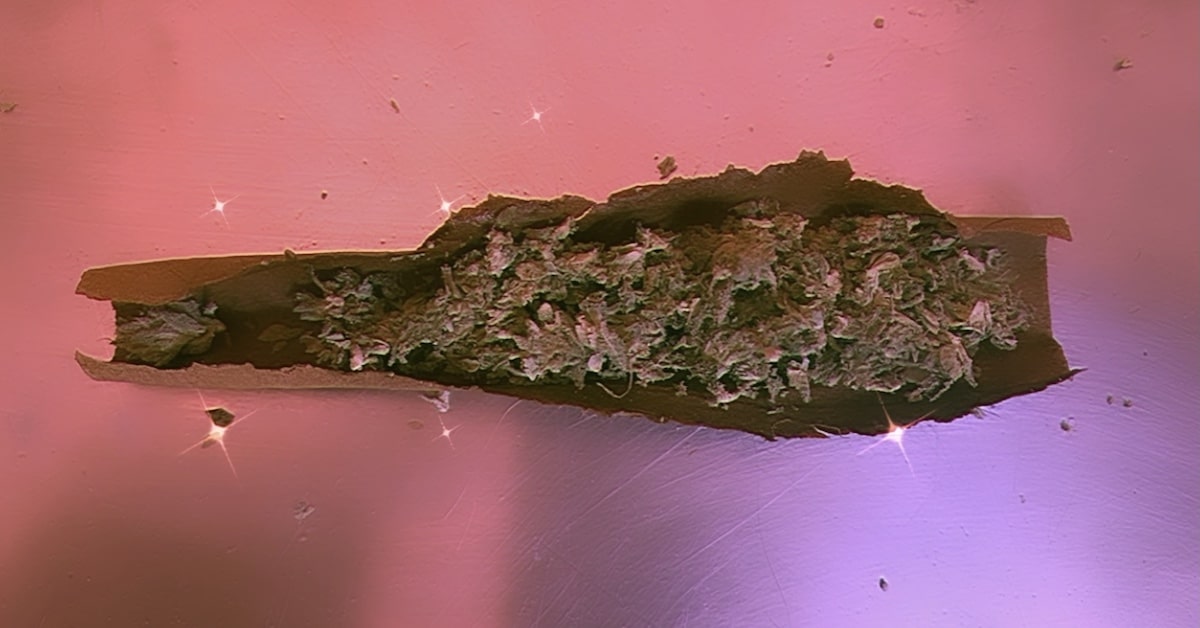
Step Two: Gut It
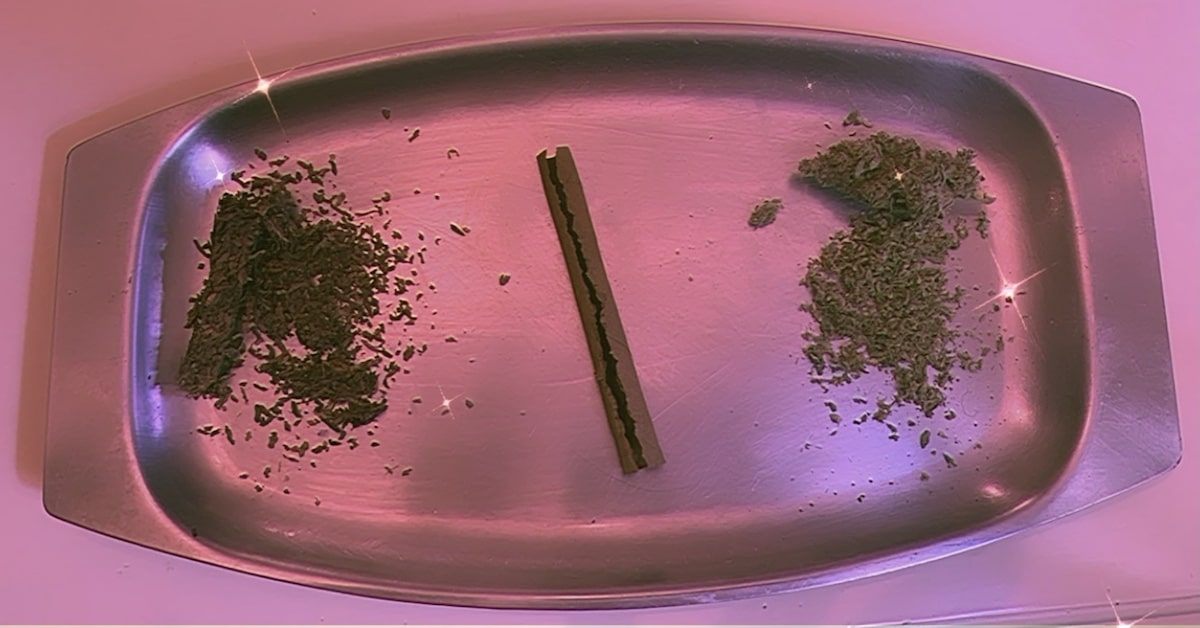 This is the part where you might look a bit crazy. Empty out everything that’s in the Swisher and toss it in the compost bin. I’m pretty sure no one actually smokes Swisher Sweets as a cigarillo, and it’s essentially the perfect vessel for weed.
Step Three: Lick It
 Moisten the seams and edges of the blunt wrap with your saliva to repair any cracked edges and to soften the wrap so you can roll it. If you don’t moisten it enough, you risk cracking the paper. If you do crack the wrap a little bit, you can use the gummy strip from a rolling paper to repair it. If you’re using Phillies or something similar, you might be able to skip this step if the wrap is moist enough.
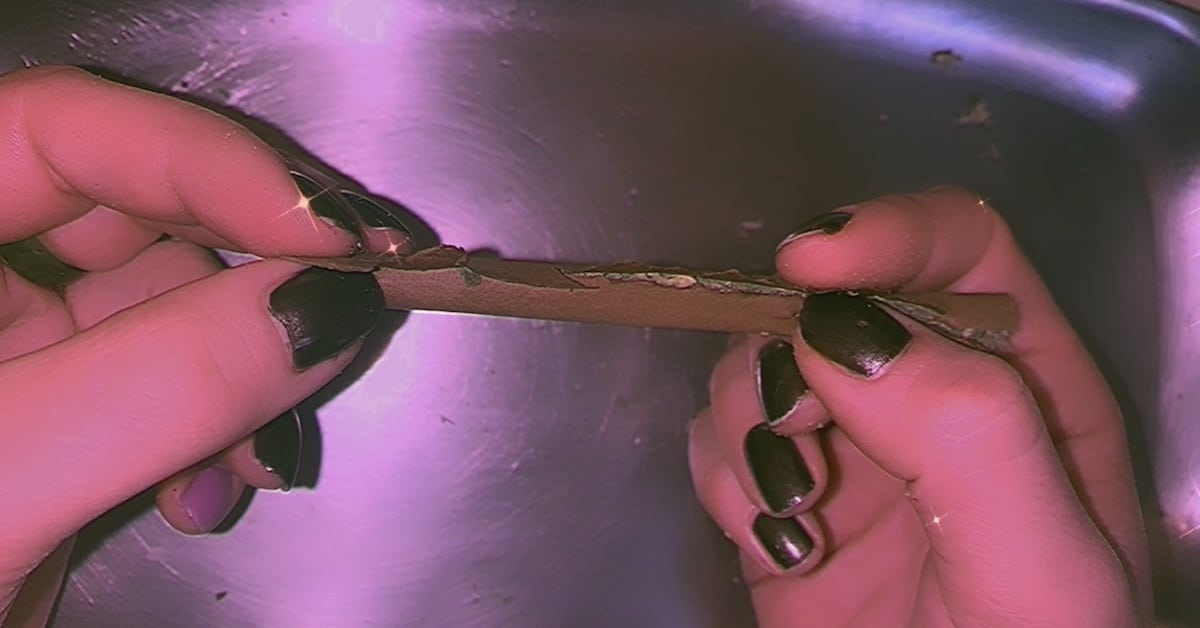
Step Four: Fill It
 Grind up your weed coarsely, leaving a tiny little nug aside. Fill your blunt wrap evenly, and leave a bit of space where you would normally place a filter. Blunts aren’t rolled with traditional carton filters like joints, and if your cannabis is really resinous, it’ll clog your blunt. You’ll notice that one end of the Swishers is a little narrower and more rigid: place that tiny nug here. This will act as your “filter” and also doubles as support for your fingers. The Swisher holds its shape so packing it is easy. With Philly blunts, the tobacco paper will open flat and you’ll have to handle it like one big rolling paper.
Step Five: Roll It
 Roll the blunt between your fingers to pack down the weed and distribute it evenly. Once you have the desired shape, tuck one end of the wrap under the other edge and wet it again from end to end, so the two sides stick together. Make sure that the blunt wrap is moist enough to stick to itself - don’t be afraid of using a little spit!
Step Six: Bake It
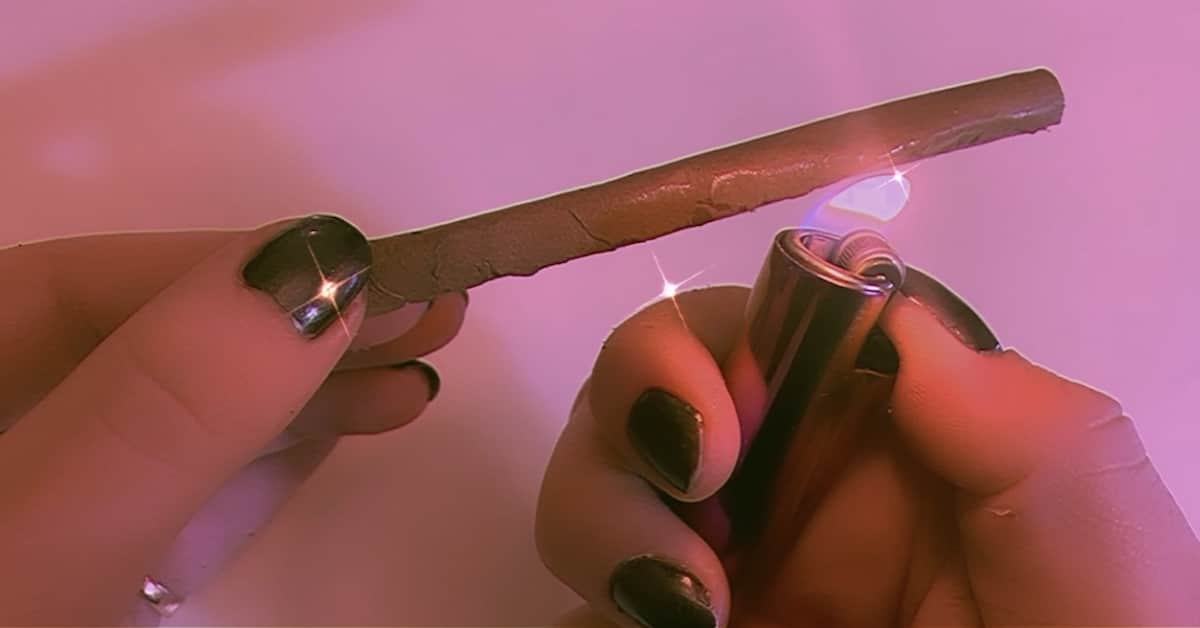 At this point you should have a big, beautiful blunt. Before you spark it up, run your lighter lengthwise around the whole blunt. Baking it strengthens the seal and ensures an even burn. Don’t hold the lighter too close — you’re looking to heat it, not burn it.
Step Seven: Smoke It
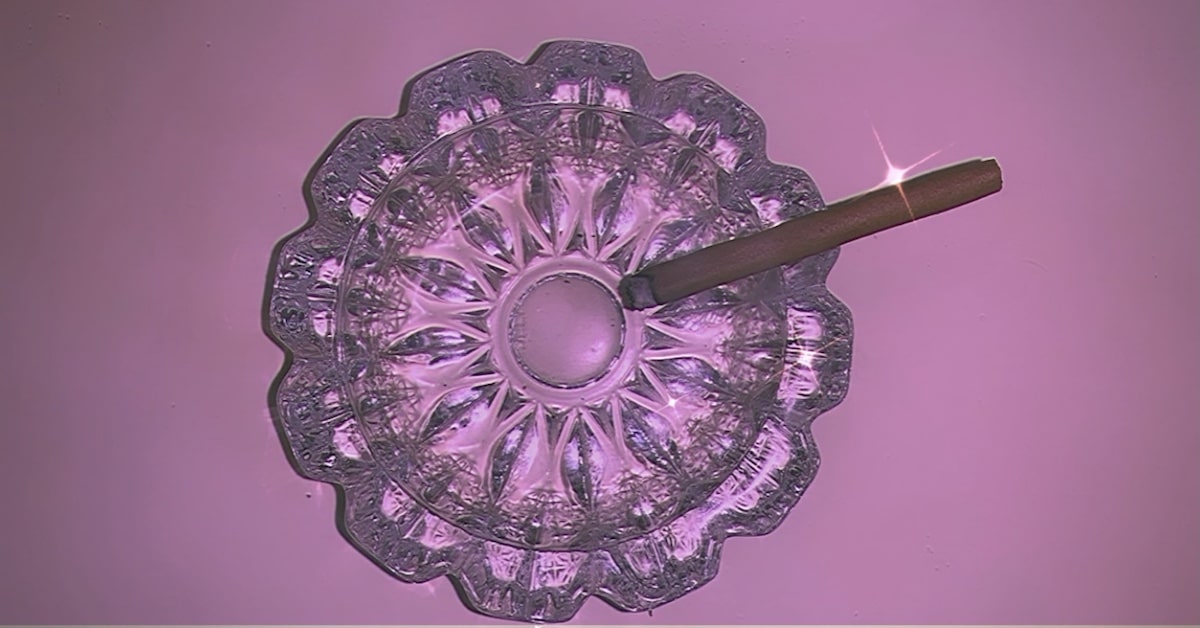 Et voila! You’ve got yourself a blunt. Take a moment out of your day to enjoy your beautiful creation.